An allocation is a formula or algorithm that establishes
how dollars from one or more accounts are redistributed to other accounts.
Allocations can be made for any period in the current fiscal year or prior year.
Note: Allocations can be run for the current year without closing the prior year.
You can set up allocations that redistribute period activity, account balance for a period, or a specific dollar amount. The application computes allocation amounts using two methods: the fixed method and the ratio method. You may select the method for any allocation that you create.
The resulting allocation amounts are then posted
to accounts.
Allocations can only be processed as part of an allocation group. Each allocation
in the group is processed sequentially according to its order in the group.
Allocations can be processed for any period in the current fiscal year, and
can be processed multiple times in the same period. Processing an allocation
produces a journal voucher that is posted automatically to the General Ledger.
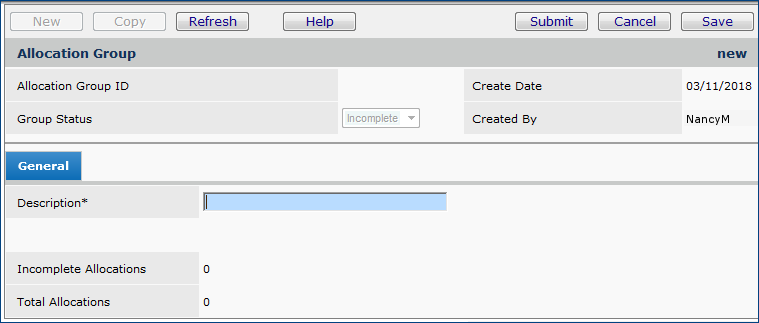
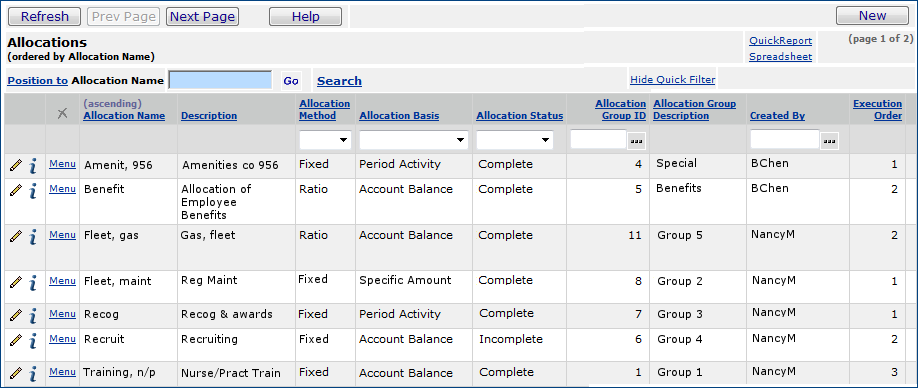
An allocation group is a collection of allocations that are processed together. Each allocation that you create must be assigned to a group.
Below are general steps in accessing the panels that create new allocations.
Creating an allocation first involves completing the Allocation Header panel, in which you specify the allocation method, the basis for allocation, and other parameters. Be sure to read the details of using the fixed and ratio allocation methods.
The second part of creating an allocation involves specifying the account(s) that dollars are deducted from and allocated to. You may also need to specify ratio accounts, as well, depending on the allocation method that you chose. (The system uses ratio accounts with the ratio method.)
Allocation Method
The method of distribution used in the allocation.Select the allocation method: fixed or ratio.
• Fixed – The portion of the base amount distributed to the individual accounts is either a fixed percentage of the base or a fixed dollar amount.
• Ratio – The portion of the base amount distributed to the individual accounts is calculated.
by using a ratio of account dollar balances or other statistical information, such as labor hours or occupancy.
When you use ratio allocations, you specify...
- One or more "from" accounts (from which the base amount is calculated),
- One or more "to" accounts (to which the individual amounts are disbursed), and
- One or more "ratio" accounts (accounts used to calculate the ratio. The ratio, in turn, is used to calculate the individual amounts.)
The "ratio" accounts and the "to" accounts are associated, based on the accounts' organization and department segments. The location of the organization and Department segments within the account code depends on the structure of accounts at your site. Each organization/department pair represented in the listing of "ratio" accounts must exist in the listing of "to" accounts.
Allocation Basis
Identifies the type of amount used as the basis for determining "from" account dollars.
Options are:
Period Activity
The net of the amounts posted to the selected accounts for the period for which the allocation is being run. The net amount is calculated as debit amounts minus credit amounts. Unposted journal vouchers in the selected processing period and year are not included in the allocation calculations.
•To calculate the Total Allocation Amount based on Period Activity:
- Sum the Period Activity for all the "from" accounts to get the Allocation Amount for the selected processing period and year.
- Multiply the Allocation Amount by the Allocation Percent to get the Total Allocation Amount.
Account Balance
The sum total amount in the accounts at the end of the period for which the allocation is being run. Unposted journal vouchers in the selected processing period and year are not included in the allocation calculations.
• To calculate the Total Allocation Amount based on Account Balance:
- Sum the Account Balances for all the "from" accounts to get the Allocation Amount for the selected processing period and year.
- Multiply the Allocation Amount by the Allocation Percent to get the Total Allocation Amount.Specific Amount
A fixed dollar amount entered by the user.
• To calculate the Total Allocation Amount based on Specific Amount:
The Total Allocation Amount is equal to the Specific Amount.
Allocation Ratio Basis
The type of amount used as the basis for calculating allocation ratios.
Required for the ratio method. Options are:Period Activity - The net of the amounts posted to the selected accounts for the period for which the allocation is being run. The net amount is calculated as debit amounts minus credit amounts. Unposted journal vouchers in the selected processing period and year are not included when the allocation calculations are performed.
Account Balance - The sum total amount in the accounts at the end of the period for which the allocation is being run. Unposted journal vouchers in the selected processing period and year are not included when the allocation calculations are performed.Not Applicable appears in this field when you select the fixed Allocation Method.
Click Help for information on other fields.
The fixed method allocates a fixed amount — or a fixed percentage of a base amount — to accounts. See the detailed example of an allocation using the fixed method before you set up your first fixed allocation.
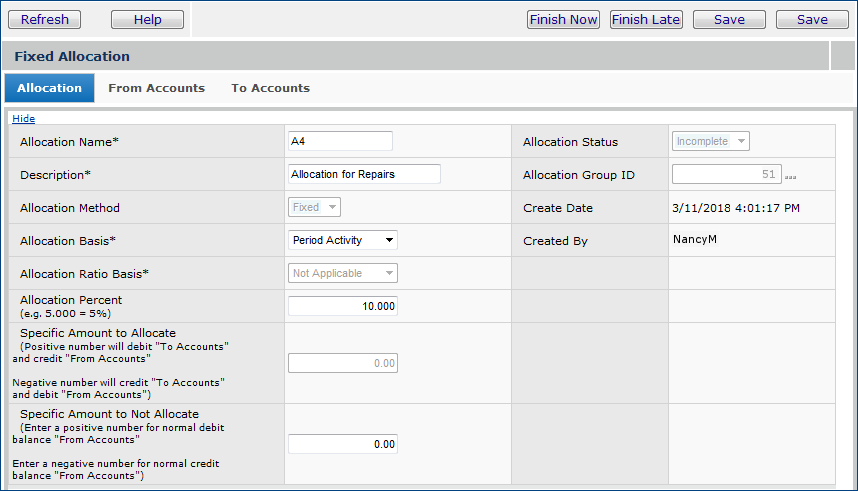
With the fixed method, after you enter header information for an allocation, the Fixed Allocation panel appears (Figure 5). This panel contains information from the allocation header that you created, and fields for entering "from" and "to" accounts.
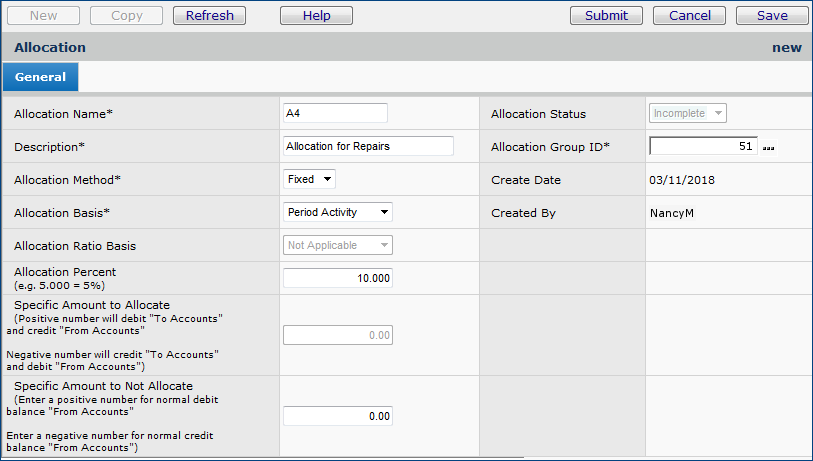
The General tab contains the header information that you entered previously. The allocation in Figures 5, 6, and 7 is a fixed allocation with an Allocation Basis of Period Activity and an Allocation Percent of 10%.
Notice that since an Allocation Percent is specified, a Specific Amount to Allocate cannot be entered.
You could enter a value in Specific Amount to Not Allocate. The Specific Amount to Not Allocate is deducted from the calculated total amount allocated to the "to" accounts. The Specific Amount to Not Allocate is the minimum amount that must remain in the "from" account.
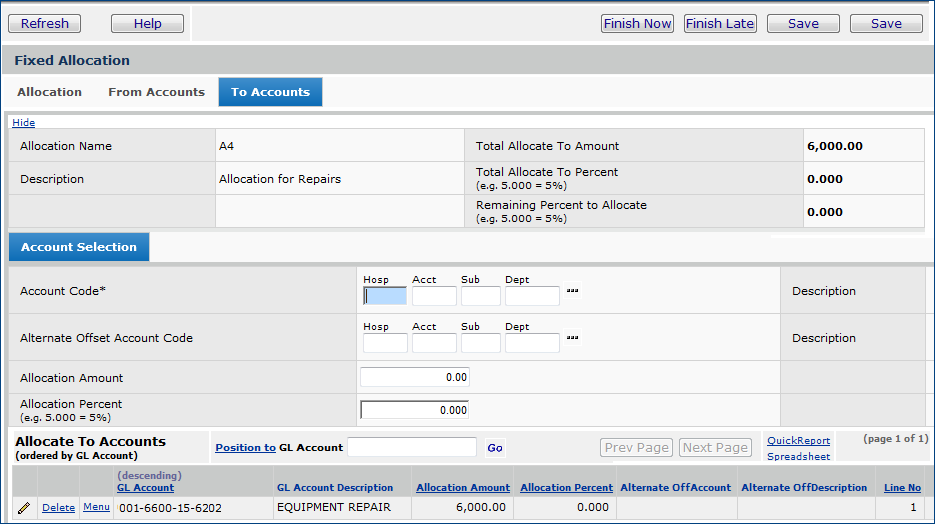
When you Submit the header for a new (or edited) fixed allocation, the Fixed Allocation panel appears. See Figure 5 above.
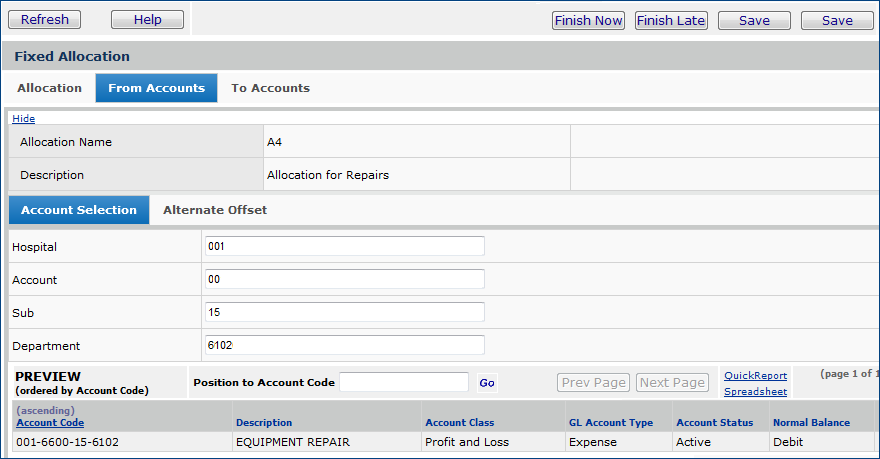
Figure 6 shows an account entered as the "From Account:" 001-100-11-0150. Dollars are allocated from this account to the account(s) specified on the To Accounts tab. You can enter one, or multiple "From Accounts."
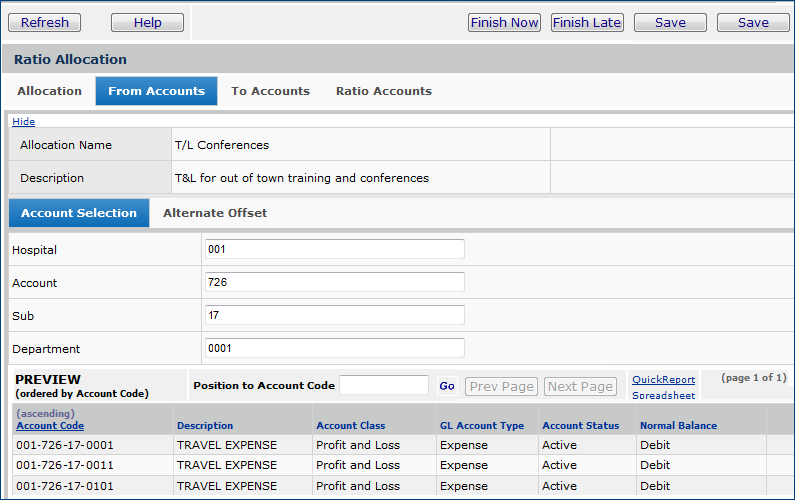
In a ratio allocation, the amount distributed to the "to" accounts is calculated based on a ratio. When you use ratio allocations, you use the Ratio Allocation panel (Figure 8, below) to specify...
The "ratio" accounts and the "to" accounts are associated, based on the accounts'
organization and department segments. The location of the organization and department
segments within the account code depends on the structure of accounts at your
site.
Each organization/department pair represented in the listing of "ratio" accounts
must exist in the listing of "to" accounts.
To calculate the ratio
For each "ratio" account, divide the Ratio Total by that account's Period Activity or Account Balance (according to the Allocation Ratio Basis). The resulting value is the ratio for the accounts' organization/department.
To calculate the Individual Allocation Amounts
The following scenario is used in subsequent discussion of ratio allocations.
An organization needs to allocate funds from its Training Expense accounts
to its Travel and Living accounts. Travel and Living accounts are used for staff
who attend out-of-town conferences and seminars. The organization allocates
Travel and Living funds proportional to the amounts spent on conference fees
for each department, which are in the Conference Fees accounts.
Here are the accounts to be used in the allocation:
|
Training
Expense accounts: "from" accounts |
Account Balance |
| 001-726-19-0001 | $50,000.00 |
| 001-726-19-0011 | $50,000.00 |
| 001-726-19-0101 | $50,000.00 |
|
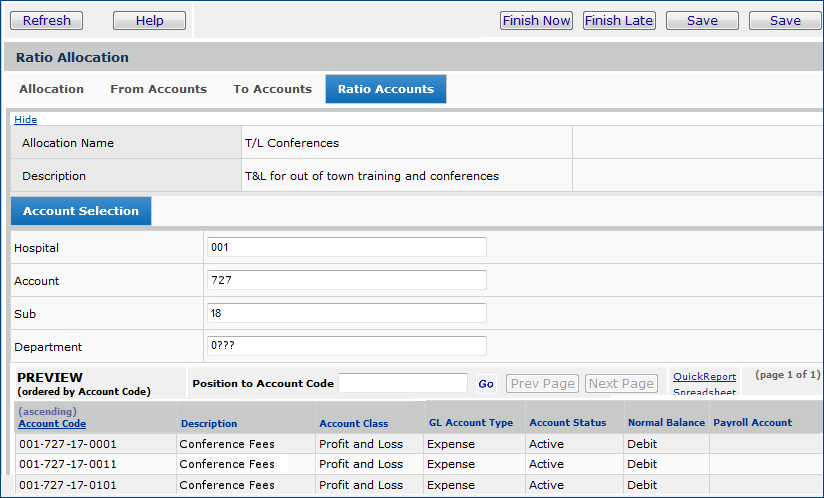
Conference
Fees accounts: "ratio" accounts |
|
| 001-727-18-0001 | $2,000.00 |
| 001-727-18-0011 | $2,000.00 |
| 001-727-18-0101 | $6,000.00 |
|
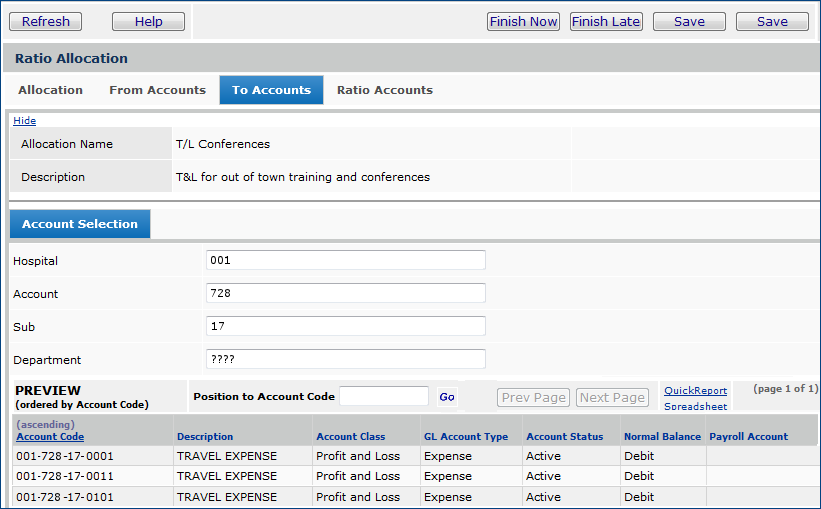
Travel
and Living accounts: "to" accounts |
|
| 001-728-17-0001 | $0.00 |
| 001-728-17-0011 | $0.00 |
| 001-728-17-0101 | $0.00 |
| Allocation Method: Ratio |
| Allocation Basis: Account Balance |
| Allocation Ratio Basis: Account Balance |
| Allocation Percent: 30 |
| Allocation Group: 66 |
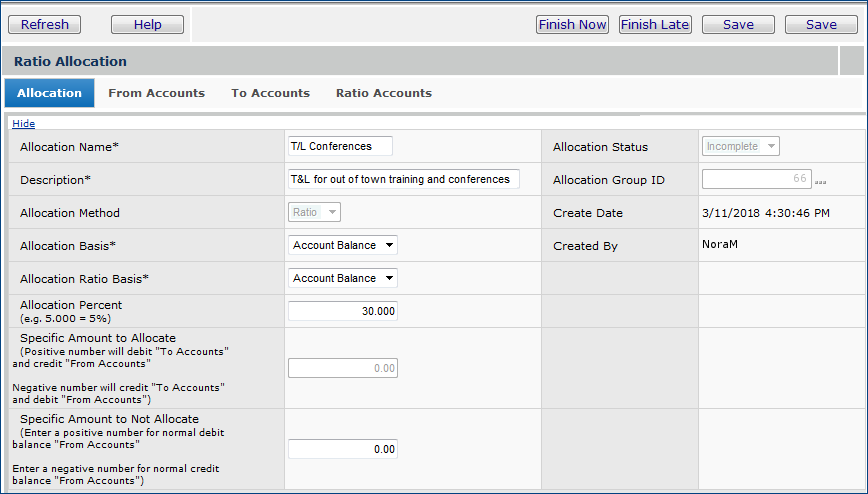
When you Submit the header for a new (or edited) ratio allocation, the Ratio Allocation panel appears. (Figure 8).
Recall that the Allocation Basis is the type of amount used to calculate
the "from" dollars. The Allocation Ratio Basis is the type
of amount in the ratio accounts used to calculate the ratio. In this example,
30% — the Allocation Percent — of the total allocation amount
is to be allocated.
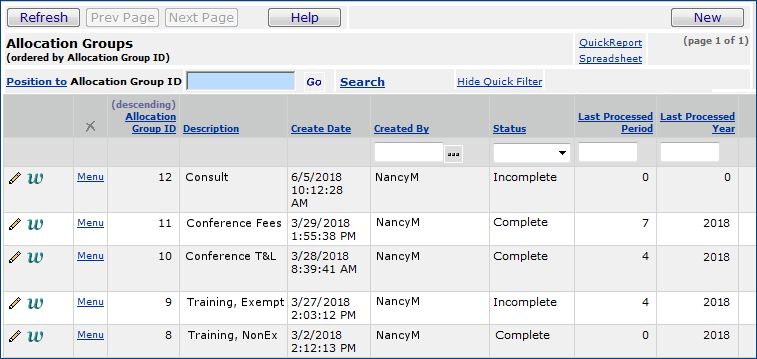
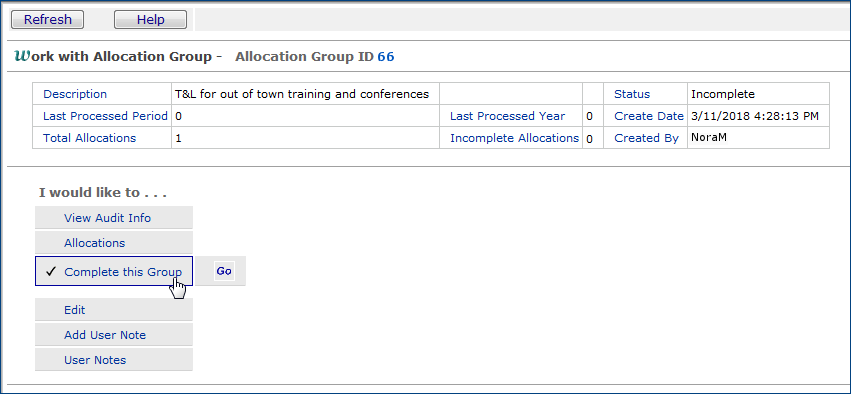
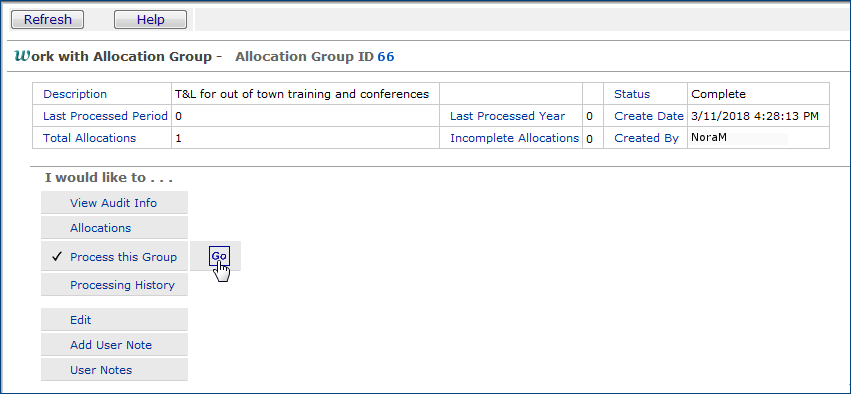
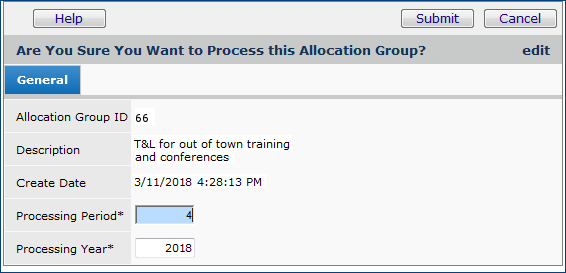
The next step is to complete and process the allocation group that the allocation belongs to.
Allocations are assigned to allocation groups, and it is allocation groups — which may contain one or many allocations — that the system processes. When an allocation group is processed, the system generates and posts the journal vouchers that distribute the allocated dollars. Before you can process an allocation group, you must complete it.
For the "Training Expenses" scenario, dollars are allocated to accounts as follows:
| "To" Account Code | Allocation |
| 001-728-17-0001 | $9,000.00 |
| 001-728-17-0011 | $9,000.00 |
| 001-728-17-0101 | $27,000.00 |
More information is available:
Copyright © 2023 by Premier Inc. All rights reserved.